Friday, June 28

Glue-Resist Altered T-shirt

 I've been working on a tie-dye series for the second summer now and my assignment is to come up with a fun way to use dye. I don't know what was wrong with me this week, but my creativity well dried up! I happened to be texting with fellow iLTC blogger, Margot Potter of DIYDoyenne.com, and mentioned in passing about my frustration. She sent me a text of one sentence that changed the course of my attitude:
"Try a faux batik look!"
I've already used a bleach pen and had to whip something different. Then I remembered how my other crafty friend, Denise from Pearmama.com, likes to use clear glue for a faux batik look. Within seconds, my juices were bubbling and I got to work. I absolutely love how the end result worked!

It sure helps to have crafty friends!

What you need:–  Aleene's® Clear Gel Tacky Glue™– Freezer paper, iron
 –  Pre-washed T-shirt
– Tulip® One-Step Spray Dye Kit™

   See my video below to see the directions!


Here's Brett, our tradeshow guru rocking out the new top I made!

Color Bomb Candy Crush Saga Ring DIY

Have you been playing Candy Crush like crazy on your phone and Facebook? All the gals here at iLTC have and so has my daughter Stacy.  They are sooooooo addicted and it's all I hear them talking about lately. So I decided to whip up a fun little ring for my friend Kristin here at work who's the biggest Candy Crush addict I know!  It's so easy and you can make it for a fun afternoon project. Here's how you do it!
 
What you need: 
Aleene's Jewelry & Metal Glue (Tabs or Adhesive...I used the tab kind)
– Wooden bead (I picked mine up at Michaels)
– Ring blank (also from Michaels)
Tulip Soft Paint in brown
Scribbles 3D Paint in various Candy Crush Color Bomb colors
– paper plate
– paintbrush
– tape
 Unpeel the Jewelry and Metal adhesive tab from it's plastic sheet and onto your ring blank base. Next, peel off your red dot.  You may be thinking, "Surely, an adhesive dot isn't all that strong."  Let me guarantee you, it is!  In fact, a while back I shared a cute spiked iPhone case I made and I'm still using it daily and not one of my spikes has fallen off!  This stuff is tough!
Pour a little brown on your plate and paint your wooden bead. Cover entirely.
 
Now here comes the fun part.  Make small little dots with your Scribbles paints!  I pulled up a picture for inspiration from the internet so I knew exactly what colors to use!  Dot each color randomly...
 until the entire surface is covered.  Make your dots in smaller and larger sizes just like the candy bomb in the game!
 Here's a fun tip!  Since I wanted the paint to dry and not have to hold the ring for hours, I taped the bottom of the ring blank to a plate so it would stay upright while drying. It only took 2-3 hours for it to dry!
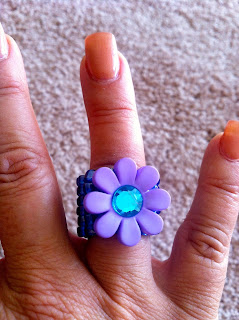
 And here's what it looks like when worn!  So fun!
Happy SUGAR CRUSHING everyone!

Thursday, June 27

Simple Shadow Box Show and Tell


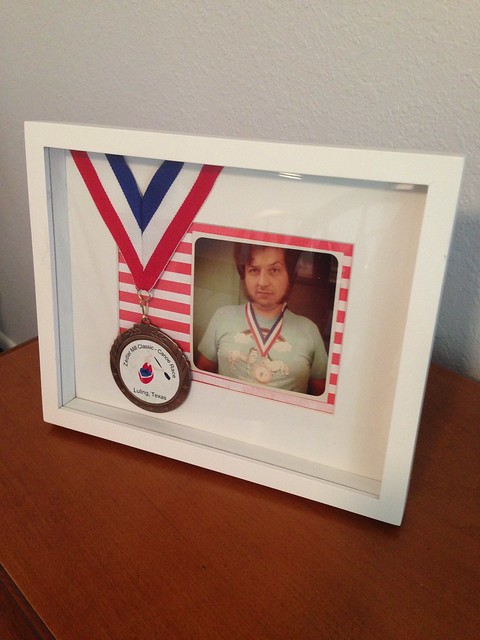
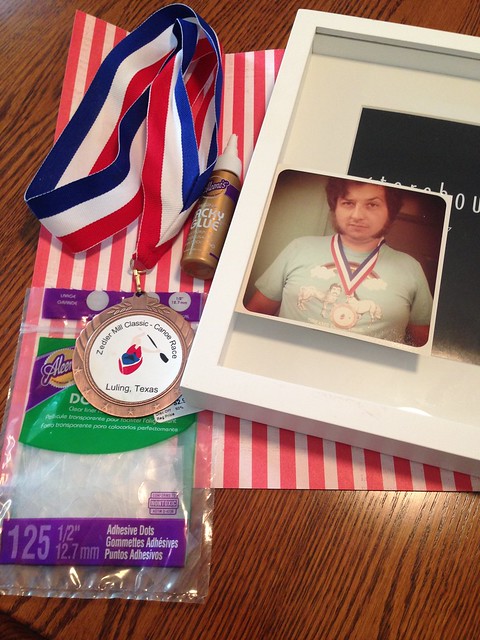
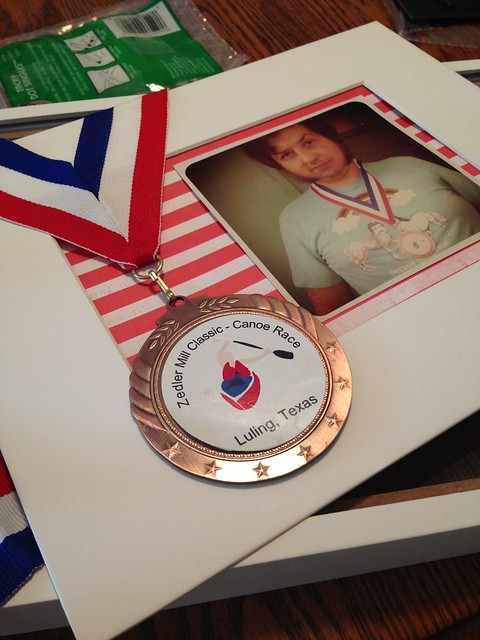
So my husband Chris is not really a hero in the eyes of most, but to our family he is. Anyone who gets up at 5:30am with the kids and let's me sleep until 8:30 is a hero in my book. He's also a medal winner. Not for courage, but for canoeing. Sure, he came in 3rd place - but he still got a fun medal. I thought I would show him what a hero he is to us by whipping up this easy shadowbox.

Supplies

Aleene's Tacky Dots

Shadow Box Style Picture Frame

Scissors

Decorative Paper

Objects to Frame (medal and photo)

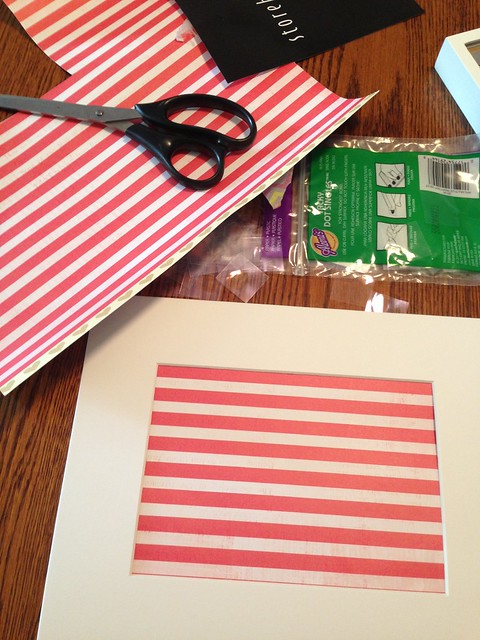
First I cut my scrap book paper to fit inside my frame.

Next I used Aleene's Tacky Glue Dots to adhere my Instagram picture to the paper.

One of the things I love about these Tacky Dots is that they are strong enough to hold something as heavy as a made in China 3rd place canoeing medal.

All that was left was to put the back on this frame and sit it on a shelf. I can't wait to make a photo wall in Chris's new home office when we move. This simple shadow box will be the perfect addition.

Wednesday, June 26

DIY American Flag-Inspired Shorts


Fourth of July is right around the corner, and if you're like me you want to look fly for the holiday weekend..
.
because let's face it Jeshua...you're single and you need to make an effort... at some point.  
 -_-


The other day I was shopping at an overpriced boutique store - and by shopping, I mean looking at everything saying "I could make that"- and I came across some denim cut-offs with an American (USA) Flag pattern painted on it.

I decided to do my own take on the painted denim. It's subtle enough to be worn all summer long and patriotic enough to be an Independence Day statement piece.

– A pair of denim shorts
– Sand paper
– Painter's tape

DIY Glittered Body Art

Whenever I am at the boardwalk I see booths set up where you can get temporary glitter tattoos or other kinds of body art. As a little kid the thought of having glitter and butterflies all over my arms and face sounded rather delightful. Tulip’s body art is great because instead of paying someone for a one time tattoo you can get multiple stencils and colors that can be used time and time again. It is great for going to the beach, the pool, a party, or a sleepover with your friends. I have wanted to showcase Tulip Body Art in a tutorial for a long time now, so I hope you enjoy it and make some awesome designs of your own! 
What you need:
Tulip Body Art Kit:
Blue Glitter
Silver Glitter
Adhesive
Small brush
Large brush
Dragonfly Stencil
Body Crystals
Remove stencil from backing and adhere to skin.  Rub gently to make sure there are no air pockets.
Brush glue on open areas of stencil.  We left stencil on for the next step, you can opt to remove it according to instructions.
Dip brush into glitter and pounce/pat into stencil. A generous helping is good!  We used blue for the body, head and wing tips and silver for the inside of the wings.  You have to work quickly or the glue will dry. It is similar to eyelash adhesive.
Remove stencil.  Use larger brush to gently brush off any excess glitter.
Use tweezers, pliers or a crayon to pick up crystals.  Dip them into glue and gently adhere to eyes of dragonfly.  Add more if you like!
That's it!  These are so easy and fun!  I'm going to bring them to my next sleepover and share them with my BFF!  I really love them and best of all, I love that they last several days, but not forever.  
We'd love to see what you do with Tulip Body Art!  Visit us on Facebook and share your photos.  And visit my mom at DIY Doyenne for more fashion and style!

Tuesday, June 25

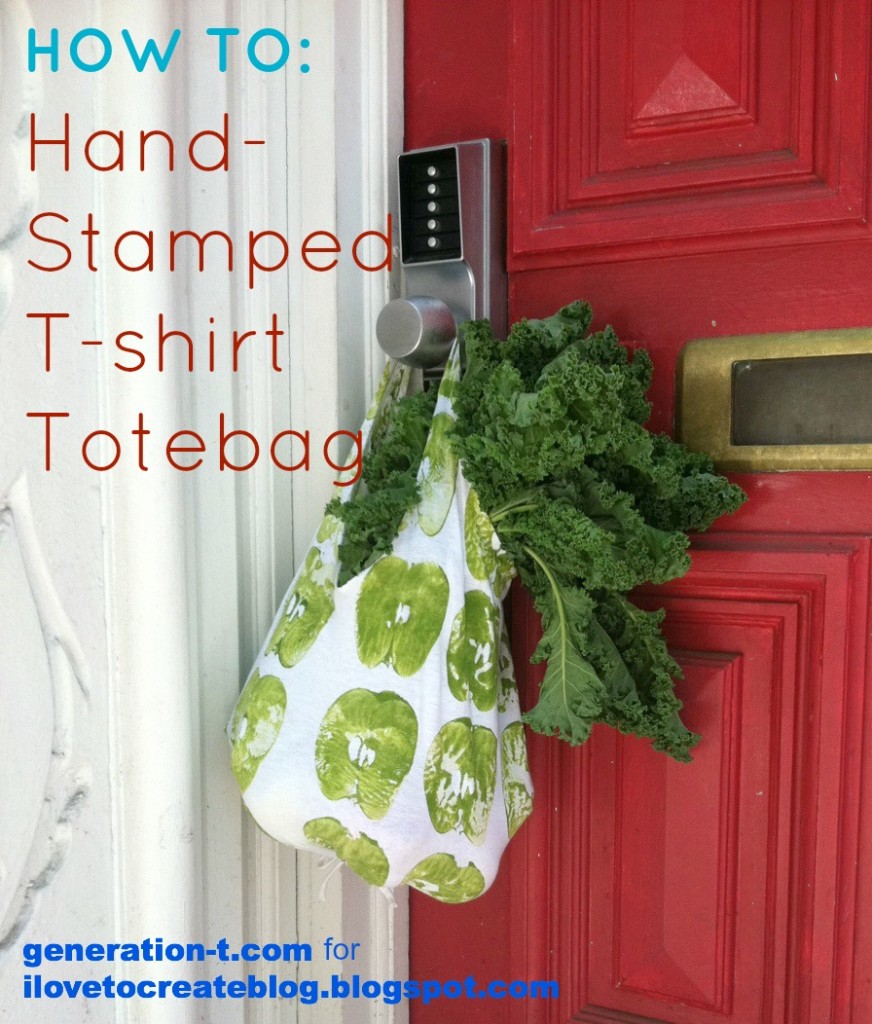
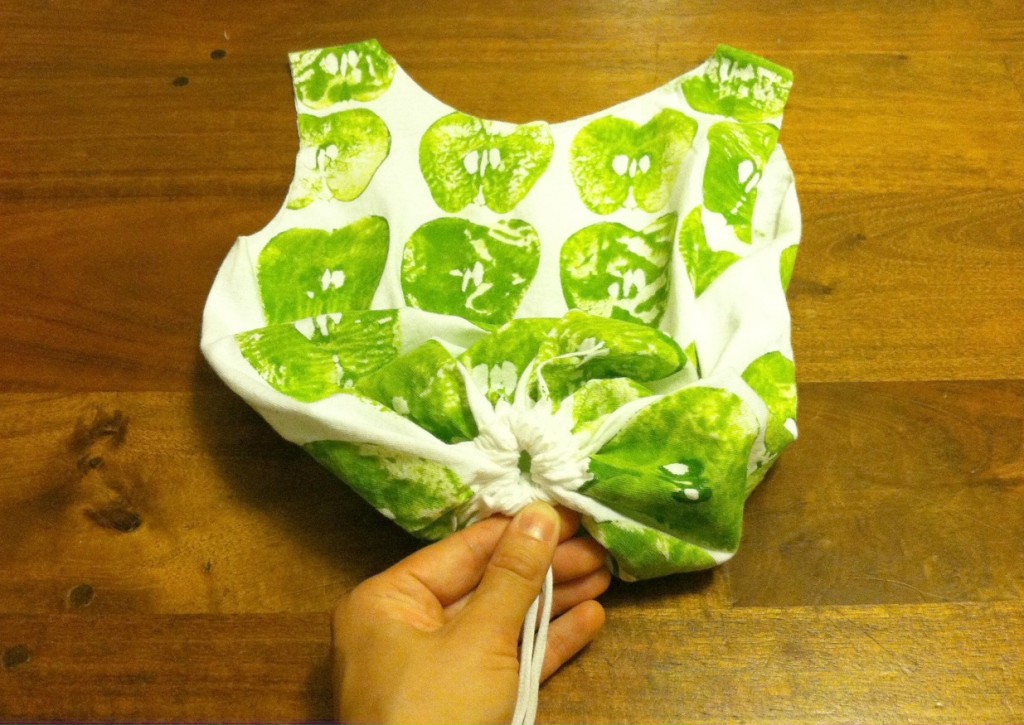
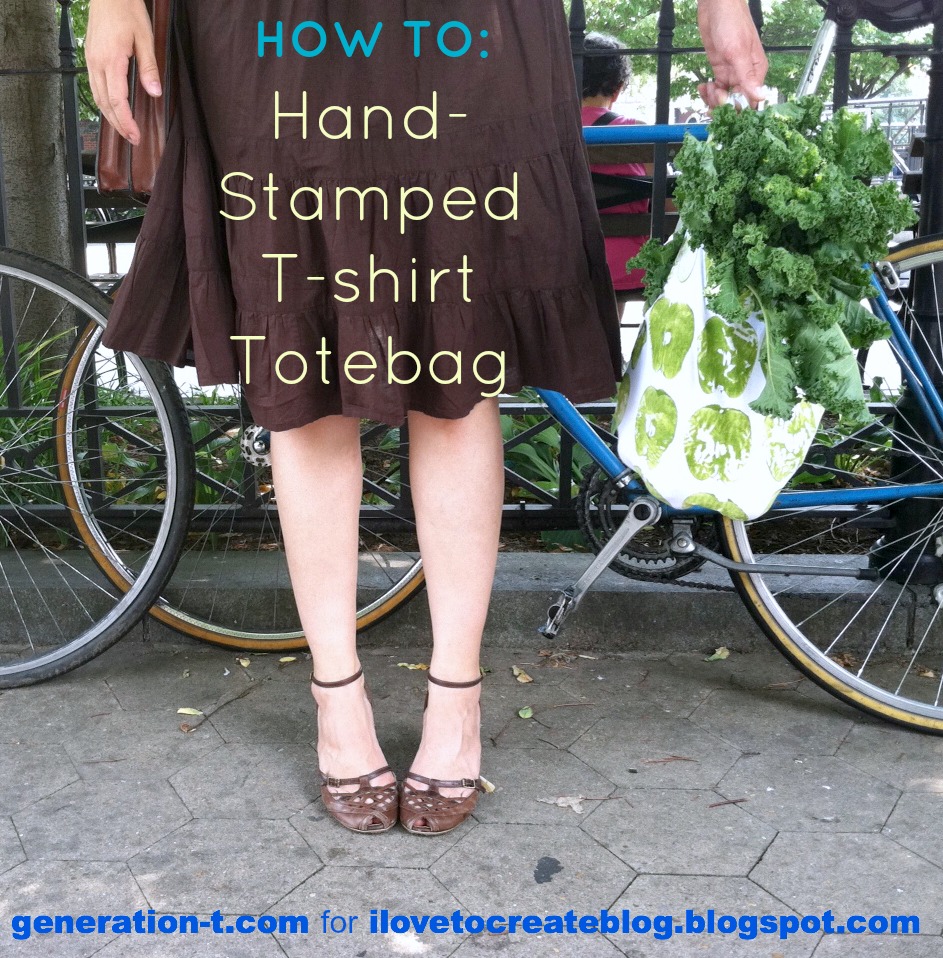
Hand-Stamped T-shirt Totebag (with Fruit!)

Move over potato stamping! There are some other fruits and veggies that want in on the action. Printing with fruits and veggies is nothing new -- but when applied to a grocery or green market bag, you get a tote that forecasts what should go inside (apples, onions, peppers, celery, corn...). Not to mention, you can construct this sturdy bag from an old T-shirt without sewing--a single safety pin is the closest you'll get to any specialty tools. I worked out the bag particulars while I was in residency at a workshop up in NH (I've since discovered a great tutorial for a very similar technique by Lee Meredith over at Leethal.net, which I imagine works particularly well for larger T-shirts, where the bottom bunching can be redistributed between several gathers). And I was inspired to use an apple after seeing Kayte Terry's lovely apple-printed tote (I wish my apple had had a stem on it!).
What You Need:
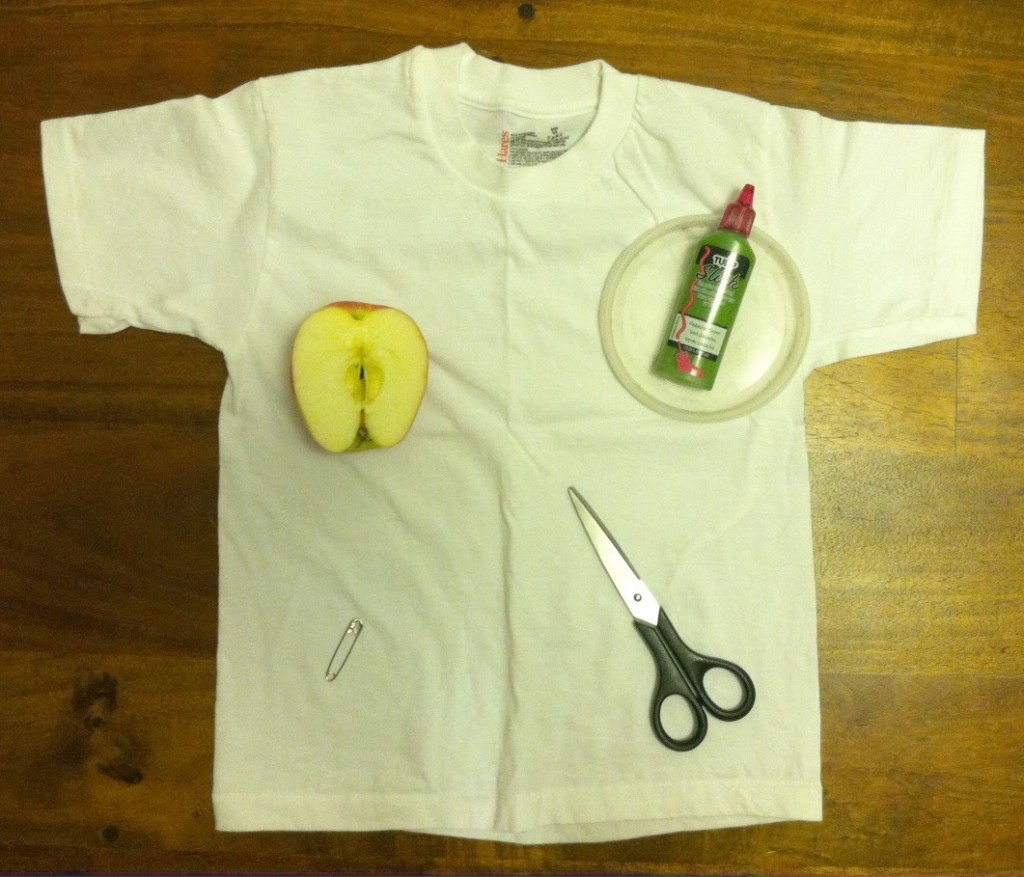
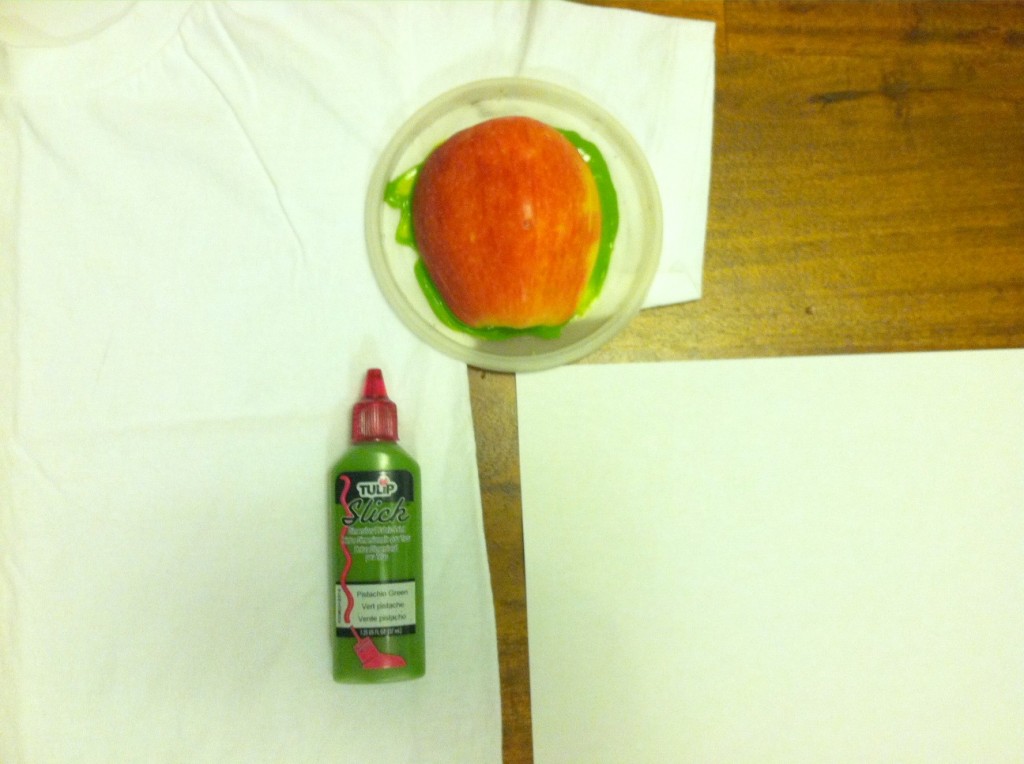
-Plain old T-shirt (I used a kid's size 6-8 for this particular one)
-Tulip Dimensional Paint or Tulip Soft Fabric Paint Tubes
-Plastic lid to use as a paint palette
-Half an apple (or bell pepper, or onion, or...) to use as a stamp
-Fabric scissors
-Safety pin
-Scrap paper
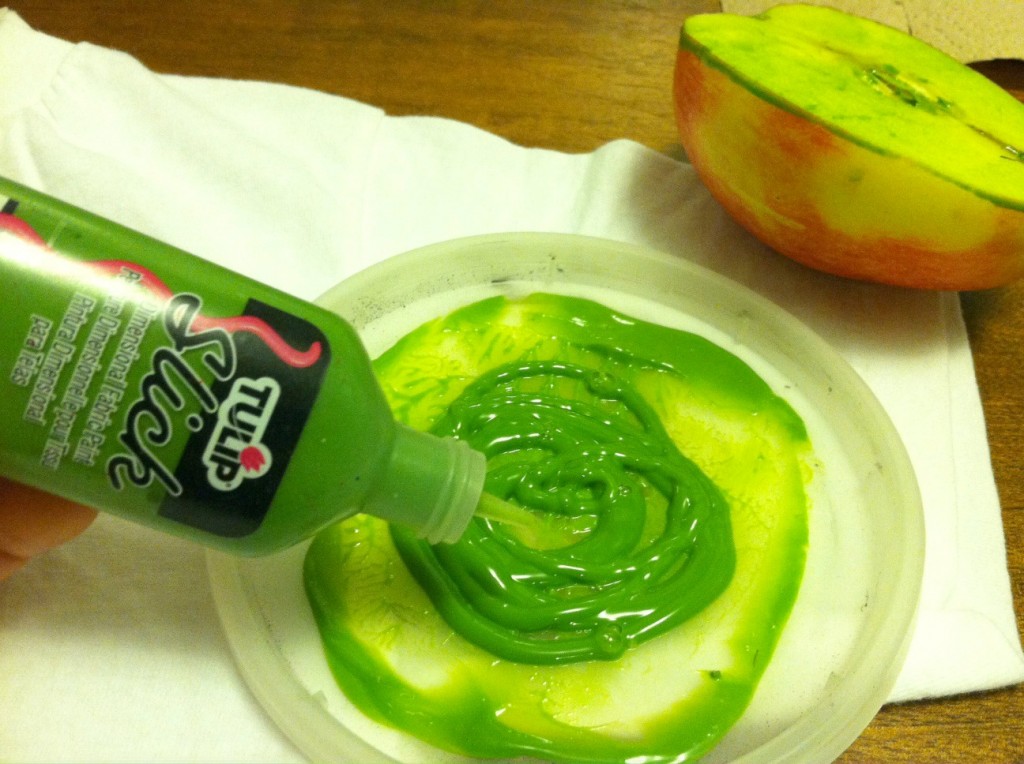
Insert sheets of scrap paper between the layers of the T-shirt so the colors won't bleed through. Squeeze a fairly generous amount of fabric paint onto your paint palette. Place the apple half flat side into the paint and slide it around to make sure it's covered. Make a test print on a scrap piece of paper or the sleeve of the T-shirt (which will be cut off) before printing on your shirt.
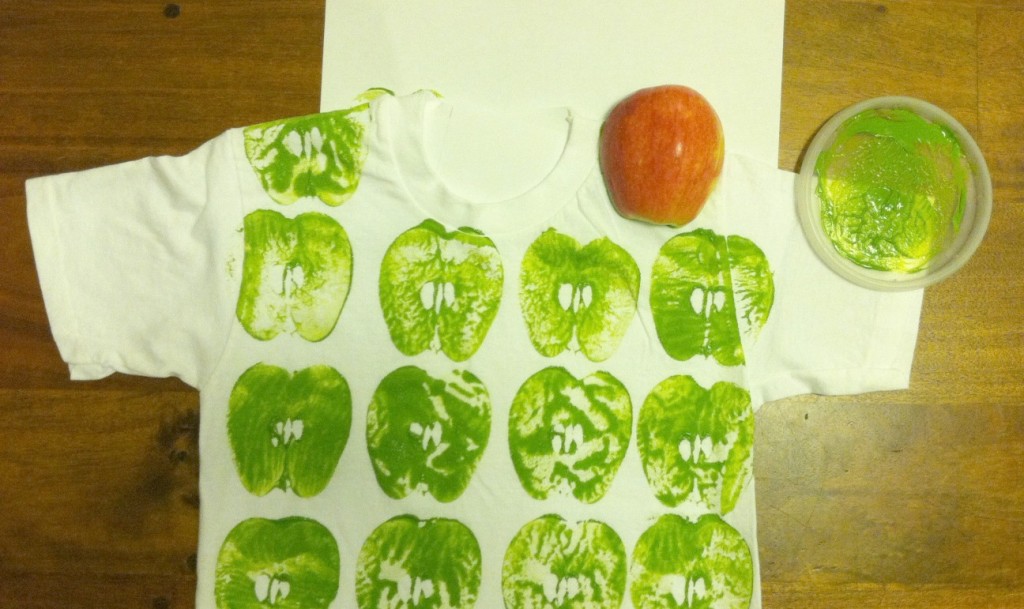
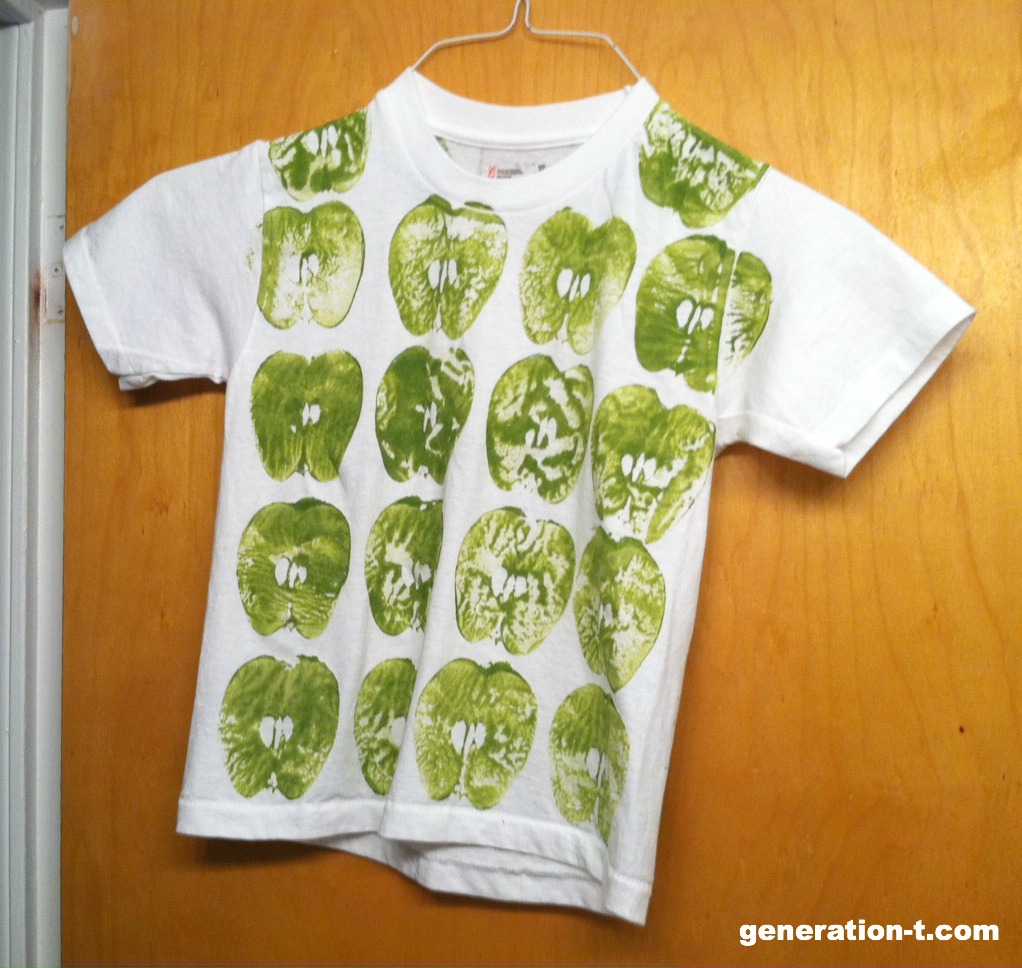
Then print away, starting at the bottom of the tee and working your way up to the shoulders. I re-inked between each pressing of the apple.
Reapply fabric paint to your palette as needed. When the front of the T-shirt is complete, let it dry partially (about 30 mins), then flip it over (onto a protective surface, in case not all the glue is dry) and stamp the back!
Hang the T-shirt to let it dry completely (and decide whether the T-shirt wants to stay a T-shirt now that it's been revived with color!). 
If you choose to continue on to make the tote bag....
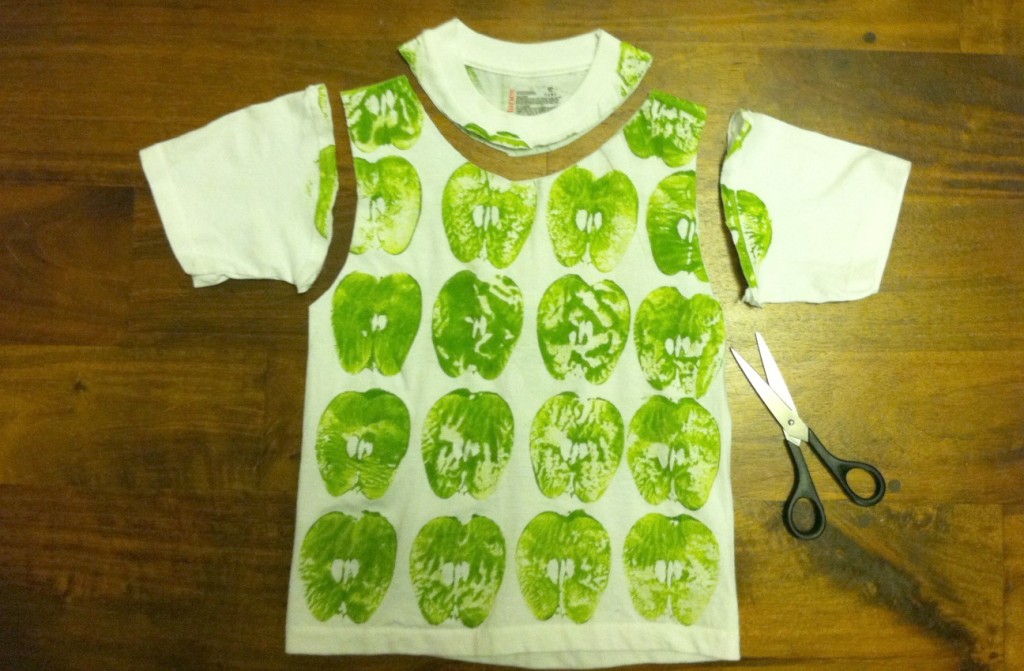
Cut off the sleeves of the T-shirt, just inside the shoulder seams. Then cut out the neckband in a gentle arc, going through both layers.
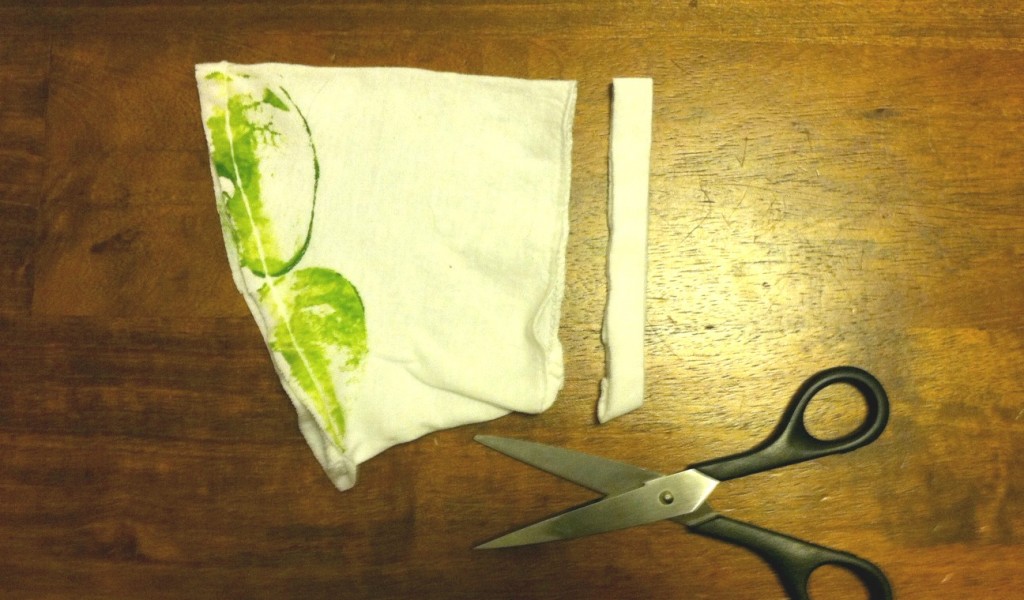
Cut off one of the T-shirt sleeve hems, just outside the seam (so that no stitching remains on the strip that you cut off), and cut through the loop to make a strip. Stretch it out, so it curls in on itself and becomes cord-like. Set it aside.
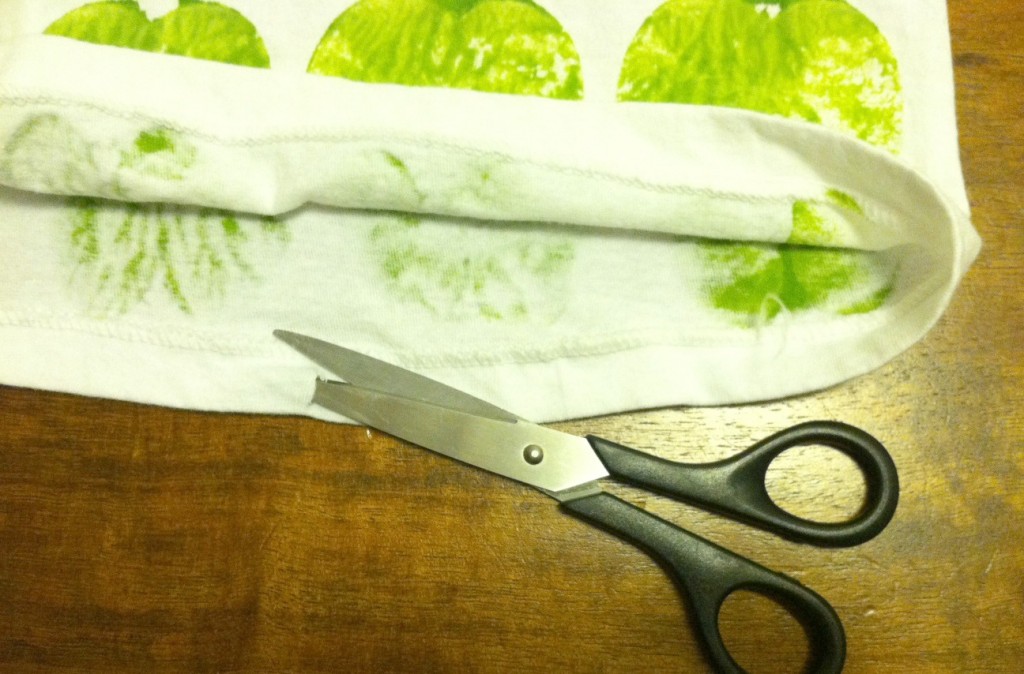
Use the tips of your scissors to snip a small hole through just the inside of the bottom hem of the T-shirt.
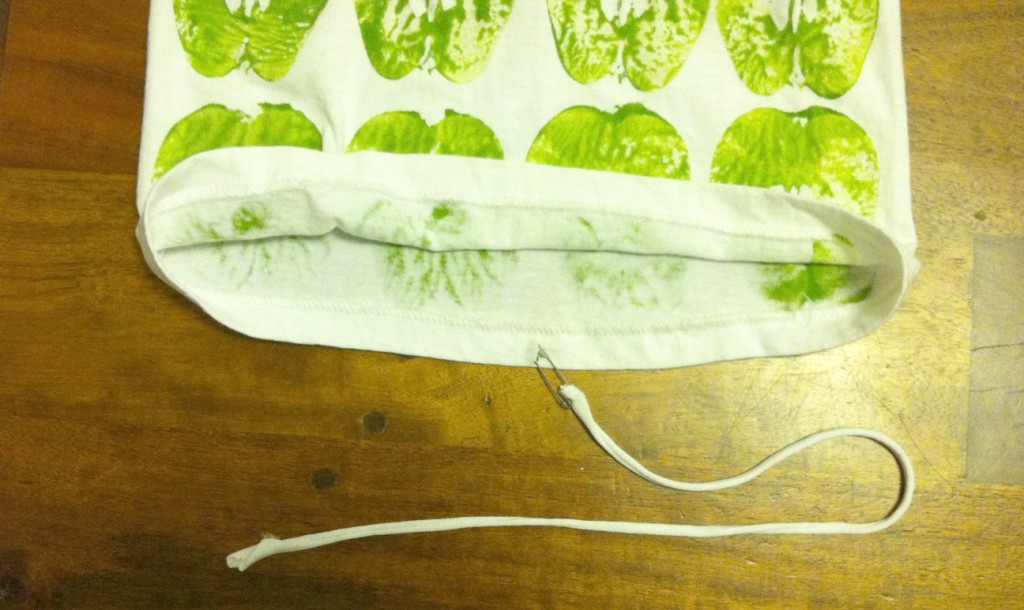
Attach the safety pin to one end of the cord and thread it through the hole in the hem.
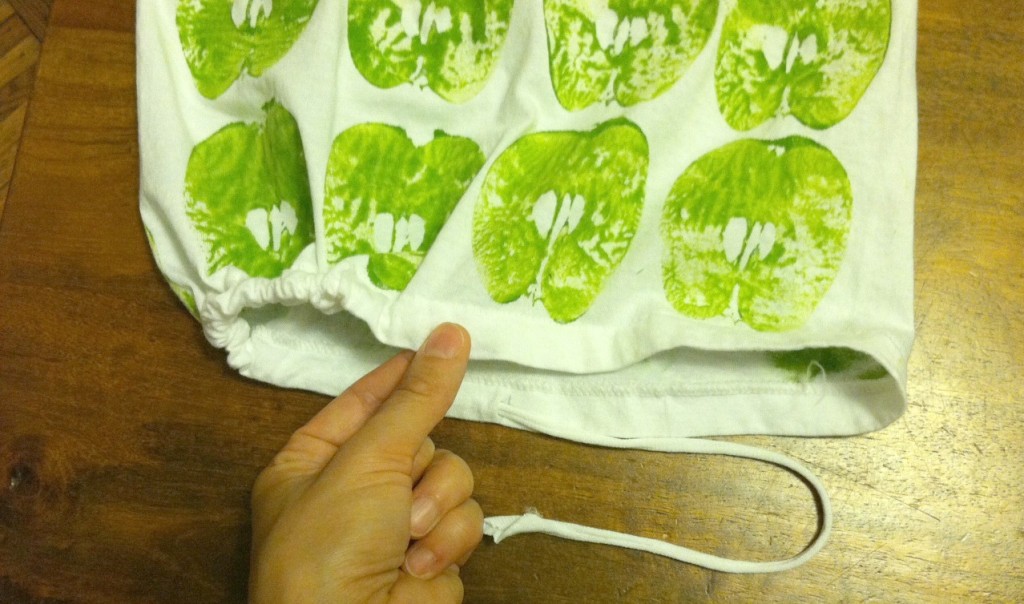
Inch it through, making sure you hold onto the non-safety-pinned end so it doesn't get lost in the hem casing.
Pull both ends even, remove, the safety pin, and...
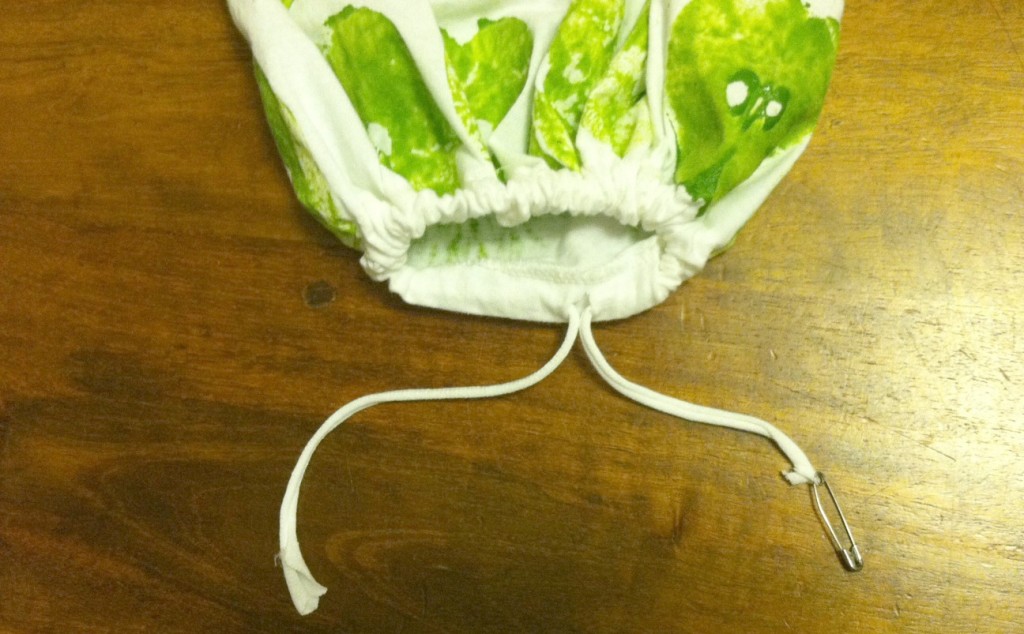
...pull tight the drawstring, so that the bottom hem gathers completely. Then tie it in a bow or a double knot.
Now here's to crumpling it up, stuffing it in your back pocket or purse, and hitting the farmer's market! See, now you can FILL it with fruits and veggies.

 Don't forget to share your collected loot!
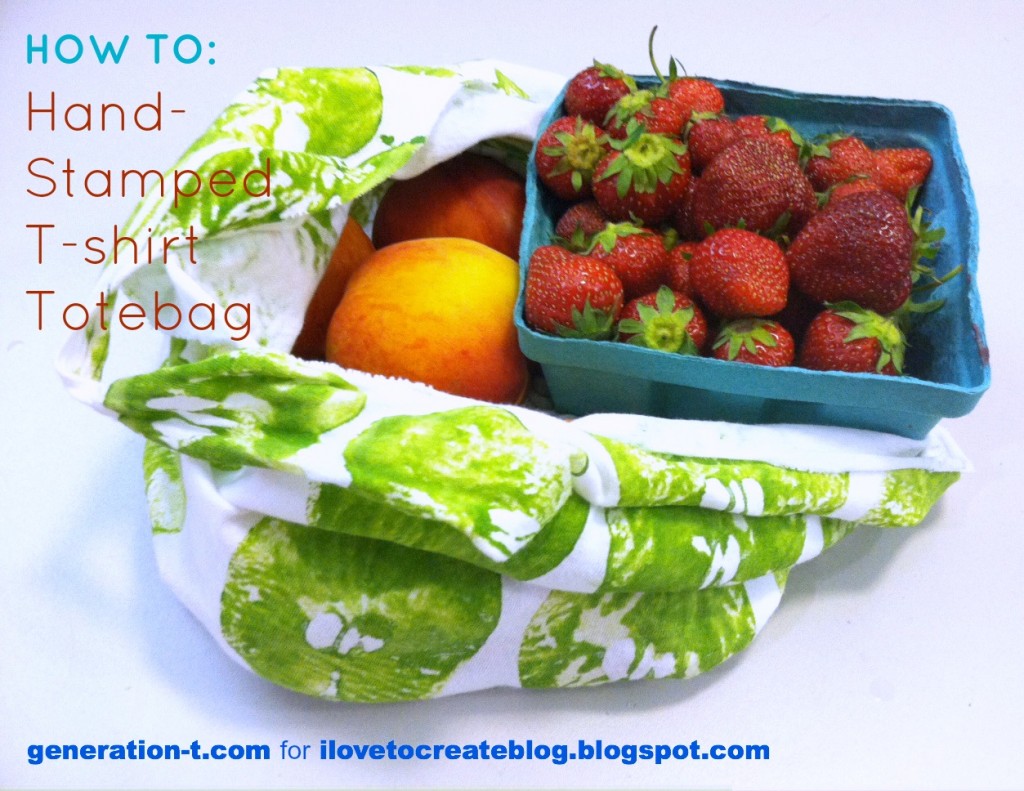
And stay tuned: Another veggie-printed, no-sew tote bag tutorial is coming your way over on Generation T next week!

Monday, June 24

Jewel Loom Flower Bling Ring


Making beaded rings is fun and easy on my NEW Jewel Loom but the "Glue" holding the bling is the real MAJIC! Aleene's Jewelry & Metal Glue is not only the BEST but it holds really really well! 
Materials needed include: 
Beadalon Wild Fire .15 
Size 6/0 Toho Seed Beads 
Decorative Buttons (if buttons have shanks you will need a pair of wire cutters to remove them) 

Set up the Jewel Loom with 7 Warp Threads following the Warp Set Up instructions included in the kit. 
Measure your finger of choice with a sewing tape measure and build base of ring according to length. My ring was 2.5inches long 
When base is finished thread needle up one row and back through bottom row at least 3 times. This will lock in rows so they do not slide once they are cute off of warp threads. Continue weaving through base of ring until you reach the top and repeat weaving through top two rows to secure as you did on bottom rows. Make sure that needle and thread are all the way too the top. Do not cut off, leave needle and thread attached to ring. 
I love working on the Jewel Loom because you can create multiple projects at once 
Flip Jewel Loom over and very carefully cut warp threads off the bottom and top of loom
Find the middle of warp threads and very carefully cut 
Tie Warp threads together by gathering and tying two pieces together 
Adhere Aleene's Jewelry & Metal Glue to knots let dry 
Trim excess thread above knots carefully 
Sew bottom and top ends together with needle thread 
Using your needle tuck knots inside of beads 
Continue to stitch entire base of ring making sure that top and bottom ends are secure 
If decorative button has a shank remove it using a pair of wire cutters. Apply Aleene's Jewelry & Metal Glue to base of button and to ring where two ends meet. This will help to hide knots and to give the ring a finished look. 
Let dry and Wear! 
Super Fun & Easy! You can check out my Blog at juliannahudgins/blog Cheers, Jewels 
Clicky Web Analytics
Pin It button on image hover

Subscribe to our newsletter

* indicates required
I am interested in products and inspiration for...
Close